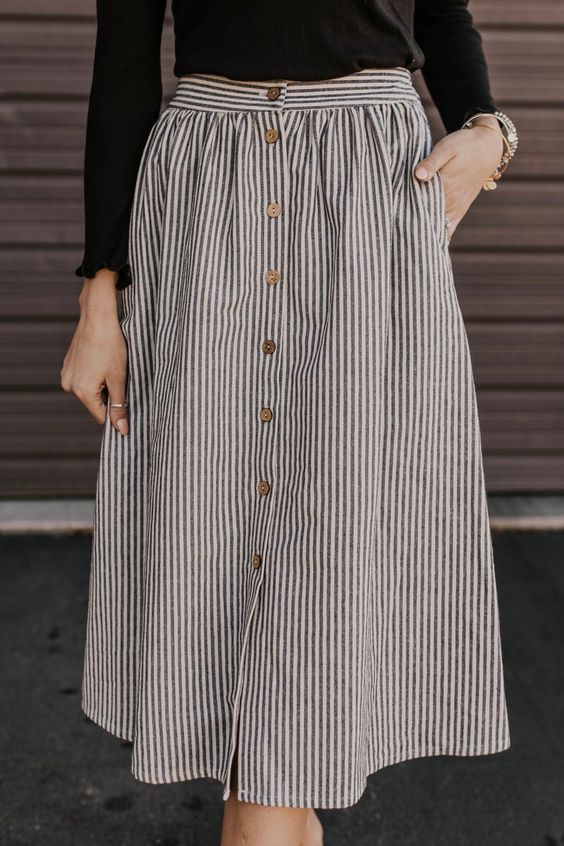
Sewing a straight skirt waistband
Generally, skirts feature a waistband. This helps to mark the waist and give your skirt a good fit. To ensure that the waistband is strong and the Finishing is perfect, a thick, rigid interlining is used in addition.
Find out how to fit this interfacing and ensure a perfectly fitted waistband.

Prepare the waistband of your skirt
Be aware that a belt is always fitted last and therefore after the zip if there is one. Furthermore, you will always cut the belt straight.
To cut the belt, draw a rectangle the length of your waistline + 6 cm. This extra margin will allow for ease (approx. 1.5 cm), seam values (2 cm) and if you wish to make an under placket (approx. 2.5 cm).
For the width of the waistband, use the width you want, double it and add 2 cm for the seam allowance.
Then prepare your interfacing: it will have the same dimensions as your final waistband, i.e. without the doubled measurements and without the 2 cm of seam allowance.
Heat seal the interfacing to your waistband.
Pull the belt up over your skirt
Spin the waistband onto your skirt, right sides together. If too much fabric sticks out, you'll cut it off later.
Stitch with a machine.
To get a good finish, remember to iron your seams as you go, on the wrong side.
If you want to place a zip or buttonhole, you will fold the unstitched edge inwards 1cm and then topstitch or hand-stitch with sliding stitches.

And if you've got scraps of fabric at home left over or you're not happy with the waistband you made yourself for your skirt, don't hesitate to call on one of our Tillistes. They'll be happy to upcycle your existing belt or customise it.
Have you read our other articles on skirts? They include how to double them, how to extend their length and for the more savvy among you, how to make one all on your own, from A to Z :-)
In short, this is your chance to learn all sorts of cool things about skirts and as the fine weather is already here, don't delay!


