How do I make an invisible hem?
The invisible hem is, as the name suggests, a hem that cannot be seen on the right side of the fabric. It's a great sewing classic that's important to know.
There are different methods for achieving it, and some stand out for their expertise or the patience they require.
In this article, you'll discover two relatively simple methods, whether you're a beginner or not.

The invisible hand hem
Be aware that it's best to make your hem by hand. This will give it a better finish.
To illustrate this article, we'll imagine working on the hem of a pair of Trousers.
A big part of the work lies in folding the hem. Take care to fold the fabric well and iron it so that the folds are neat.
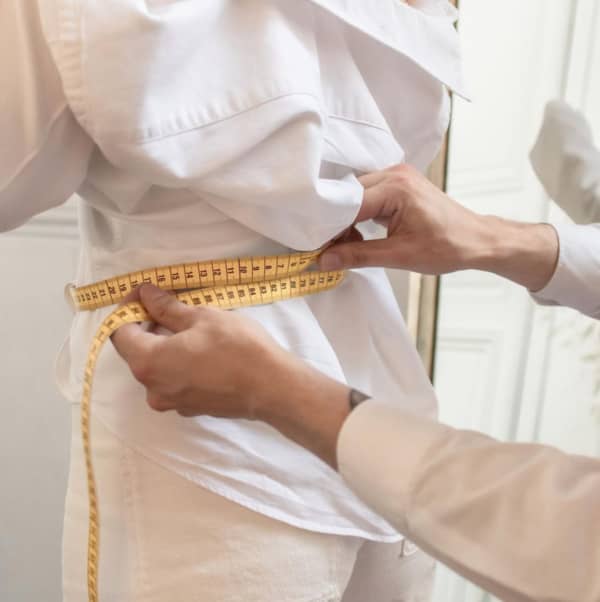
Once you've taken your measurements, pin your hem inside out and iron it to mark the crease.
If your hem is longer than 4 centimetres, trim off the excess fabric.
Fold the hem in half, onto itself (wrong side on wrong side) and pin.
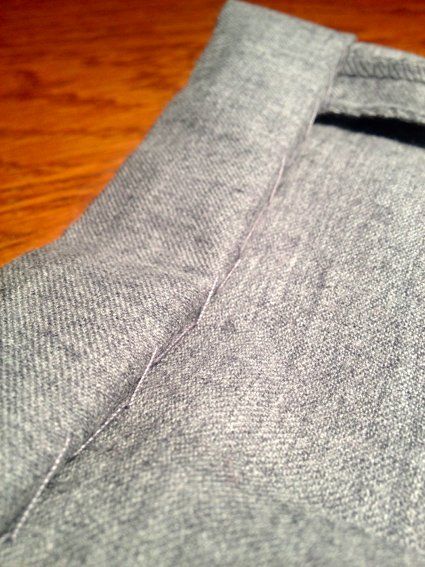
You will then sew your hem by punching into the hem and then into the mesh of your Trousers without the needle going all the way through the fabric. And so on. The seam will therefore be invisible on the right side.
The invisible machine hem
If you're in a hurry, the invisible hem can also be made with a sewing machine.
To do this, you'll need a hemming foot and the special blind hem stitch (this is a straight stitch with a zigzag every four or five stitches).
When your hem is ready and pinned, place it on your machine. You'll punch the straight stitches into the flap and the zigzag stitches on the other side. This way, the end of the zigzag will appear on the right side.
Don't forget to iron your hem well to get a perfect result!

And if you don't necessarily need the invisibility power of this hem, refer to our article on basic Trousers hems which are great too!


