How do I sew a sleeve cuff?
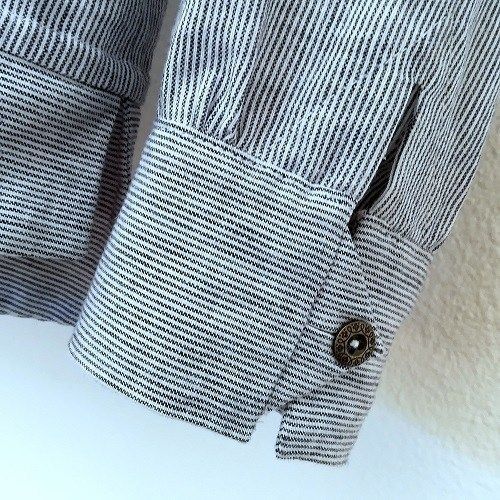
Whether on a shirt, blouse or dress, a pretty sleeve cuff can make all the difference.
It's neat rendering brings elegance and refinement to the whole outfit.
It's a bit like the final touch or the icing on the cake.
Let's look together at how to make a sleeve cuff and become an expert on the subject!

Why pay attention to the sleeve cuff?
The sleeve cuff is an important detail that can, on its own, define the degree of quality and elegance of your garment. There are different shapes, both in men's and women's dressing. Simple, round, musketeer, Neapolitan, cuff, slide or zip...
If you haven't made your choice yet, carry out a search beforehand and take the time to select the style that best suits your taste.
Obviously, this choice will determine the degree of difficulty in making your sleeve cuff. But in a way, it doesn't matter because if you don't think you have the skills to sew these cuffs on your own, you can always call on one of our Tillistes.
So choose the cuff you like best and give your garment the degree of elegance it deserves.
How do I sew a sleeve cuff?
As explained above, each sleeve cuff has its own specificity and therefore its own sewing, here we're going to show you how to make a classic and relatively basic cuff. This will initially allow you to test, perhaps on an inexpensive fabric, and assess your skills.
You can increase the difficulty as you learn.
Ideally, you will work from a pattern.
Before assembling your cuff, make sure that the sleeve edges are well sewn.
Cut out a rectangle of length A and width B. Length A corresponds to the circumference of the cuff + the seam allowance (approx. 1.5cm). Width B corresponds to the height of the cuff multiplied by two + the seam allowance.
Then join the right side of the cuff to the wrong side of the sleeve, sew and press the seam.
Fold the cuff in half, taking care to cover the joining seams.
Sew the two layers and the four sides of the cuff together.
You're done!

Does the sleeve cuff look like a sewing project that's up to your skills?
Perhaps you'd like to learn how to sew your shirt as a first step.
Share your creations with us and don't hesitate to ask for help if you feel the need.


