How do I sew a top with sleeves?
You're desperate to sew yourself that little top you saw in the latest Vogue but you're terrified of its sleeves!They look so intricate. And how do you put sleeves on a top?
Tilli explains it all in this article, fear not, soon sleeves will hold no secrets for you!
Determine the style of your sleeves
If there were only one type of handle, sewing would be a much more accessible discipline!
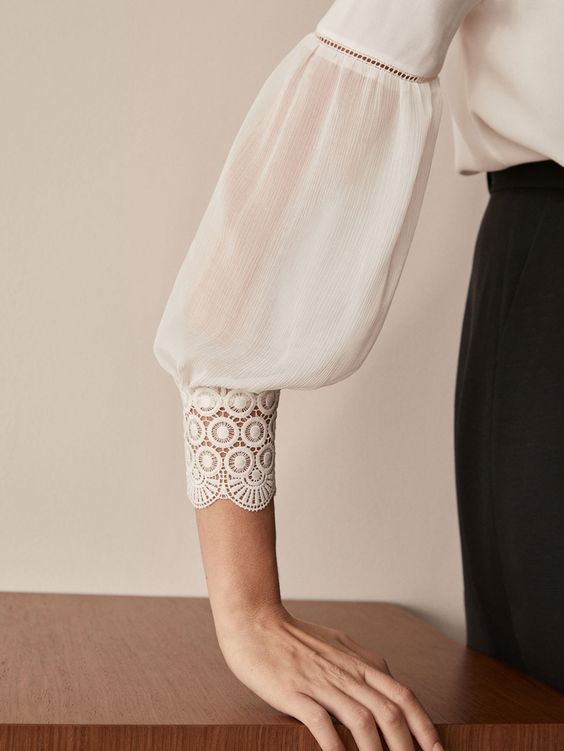
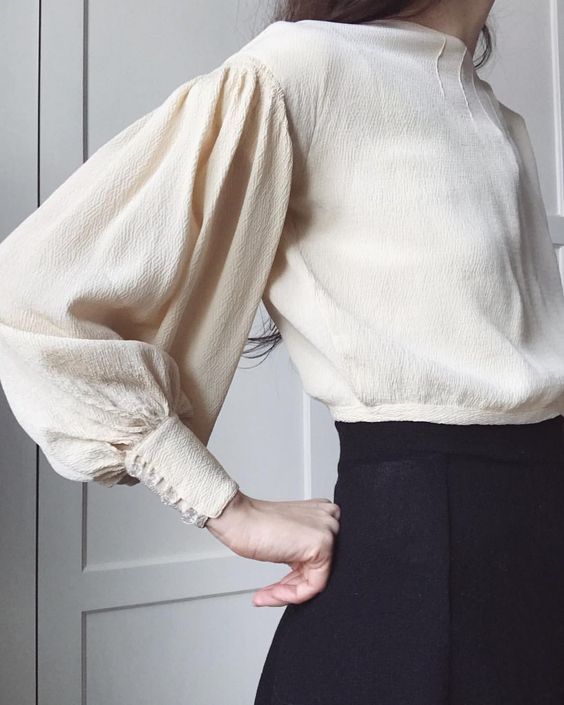
But, no, there are loads of different sleeves: cuffs, short sleeves, long sleeves, 3/4 sleeves, puffed sleeves, balloon sleeves, tulip sleeves, pagoda sleeves, bell sleeves, flared sleeves... The list goes on!
So before you start sewing, think about the style of sleeves you want and the degree of difficulty they represent.
Fitted sleeves or cut sleeves?
For your sewing, it's also essential to know whether the sleeve you choose is fitted or cut.
The fitted sleeve is joined to the bodice at shoulder level, looping through the armpit. The cut sleeve is, on the contrary, integrated into the bodice and goes into its continuity.
For your project, chances are you'll want to mount a sleeve on your top, and to do this you'll need to assemble the back and front of the bodice through the shoulders before mounting your sleeve.
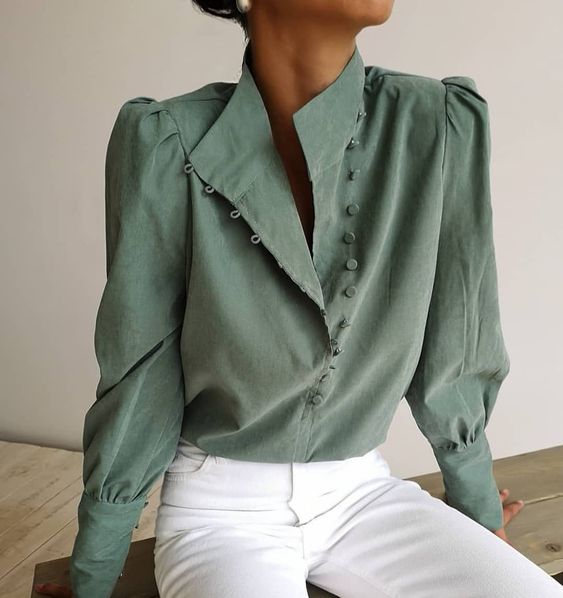
How do you mount your sleeve on your top?
When your sleeve is ready and the front and back of your bodice are sewn, you can then sew the sleeve directly into the armhole.
This part is quite difficult as your sleeve is wider than the armhole. So you're going to have to absorb the excess fabric carefully and initially by hand, with regular basting stitches.
Have fittings to check that the sleeve overlaps correctly with the armhole. You will then pin the sleeve, distributing the fullness harmoniously and without making creases.
You can finish by sewing, regularly checking the fit of the sleeve, even if it means repeating the penultimate step for the result to be perfect.
Sleeves, an affordable and trendy alternative
Here's a nifty alternative for those of you who don't dare venture into sewing sleeves.
The sleeve, which comes in a multitude of styles, will be a delicate addition to your dress.
And you'll be able to remove it at your leisure.
Interesting, isn't it?
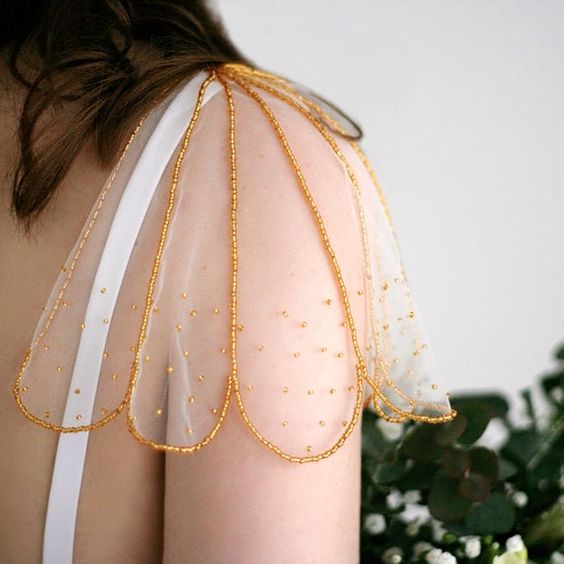
Assembling a sleeve is not an easy thing, especially if it's your first time. You can give it a try, taking your time well and tackling a relatively simple sleeve.
Or you can make an appointment with one of our Tillists.They'll be happy to help and you can ask them to fit any type of sleeve.
Don't hesitate, we're here for you!

